
Deckle or torn edges are an option for artists and occasionally photographers who print their images on fine art papers. Some just like the effect while others, like it because it gives a giclee print the look of a print produced on handmade paper. We offer this style of print as something you can order with your fine art paper prints however occasionally people tell us they had envisioned something different. Because of that, we want to break down what exactly this looks like and how you can do it yourself if you choose.
Feeding paper with naturally torn edges could potentially create havoc in a controlled printing environment due to the very precise components on the printer, therefore it is best to create that torn edge effect after the image has been printed on the paper. Here I will show you two ways to accomplish this if you want to do it yourself rather than have FinerWorks do it.
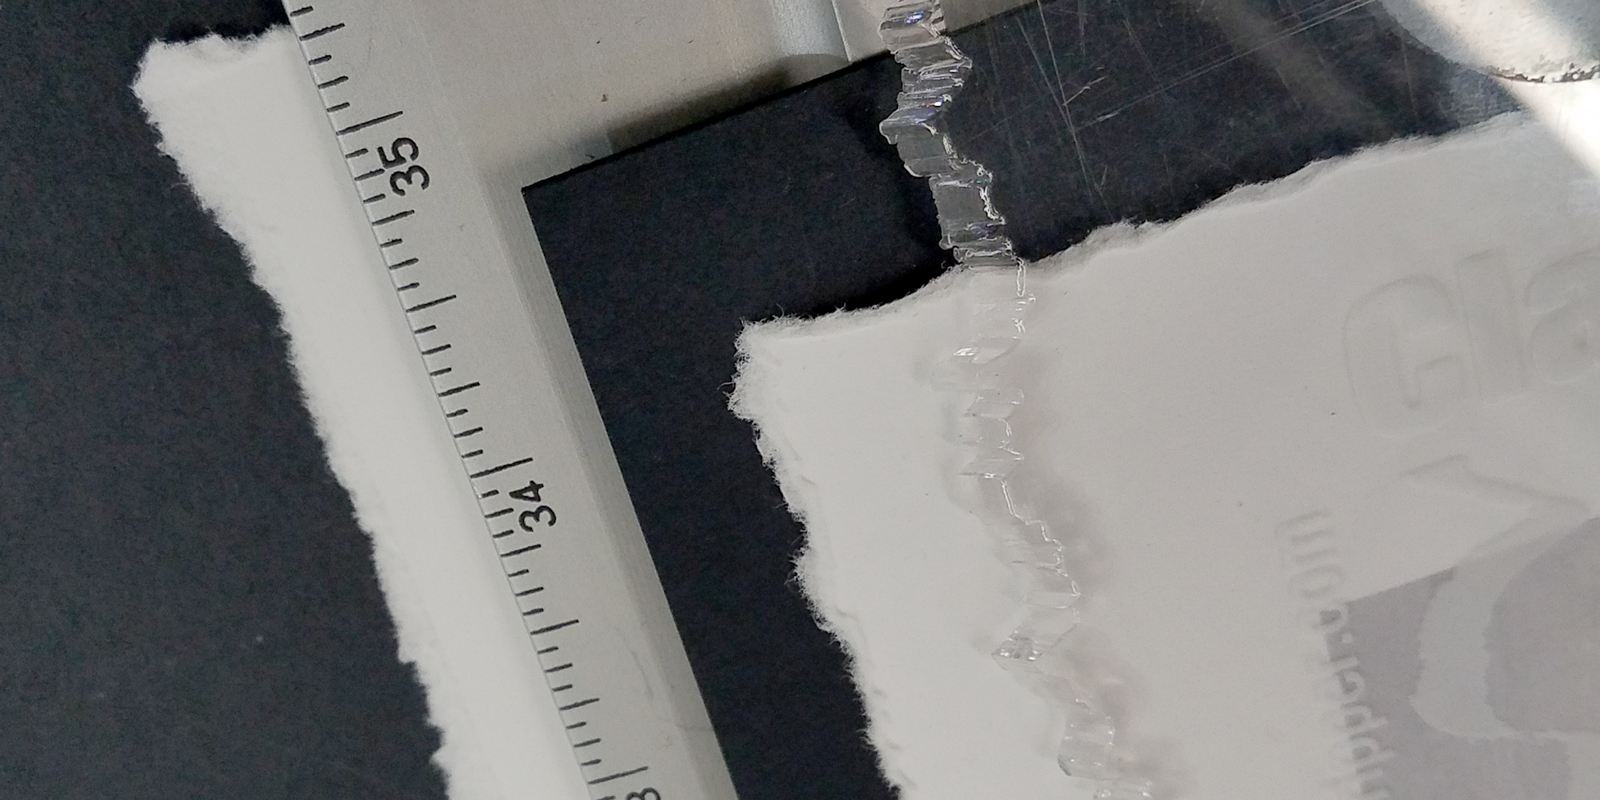
The first method utilizes a ruler or other straight-edge tool. The second uses a simple device that in my opinion provides the best example of a torn or deckled edge.
Straight Edge
Using a ruler or straight edge is the most basic way but may take a little practice.
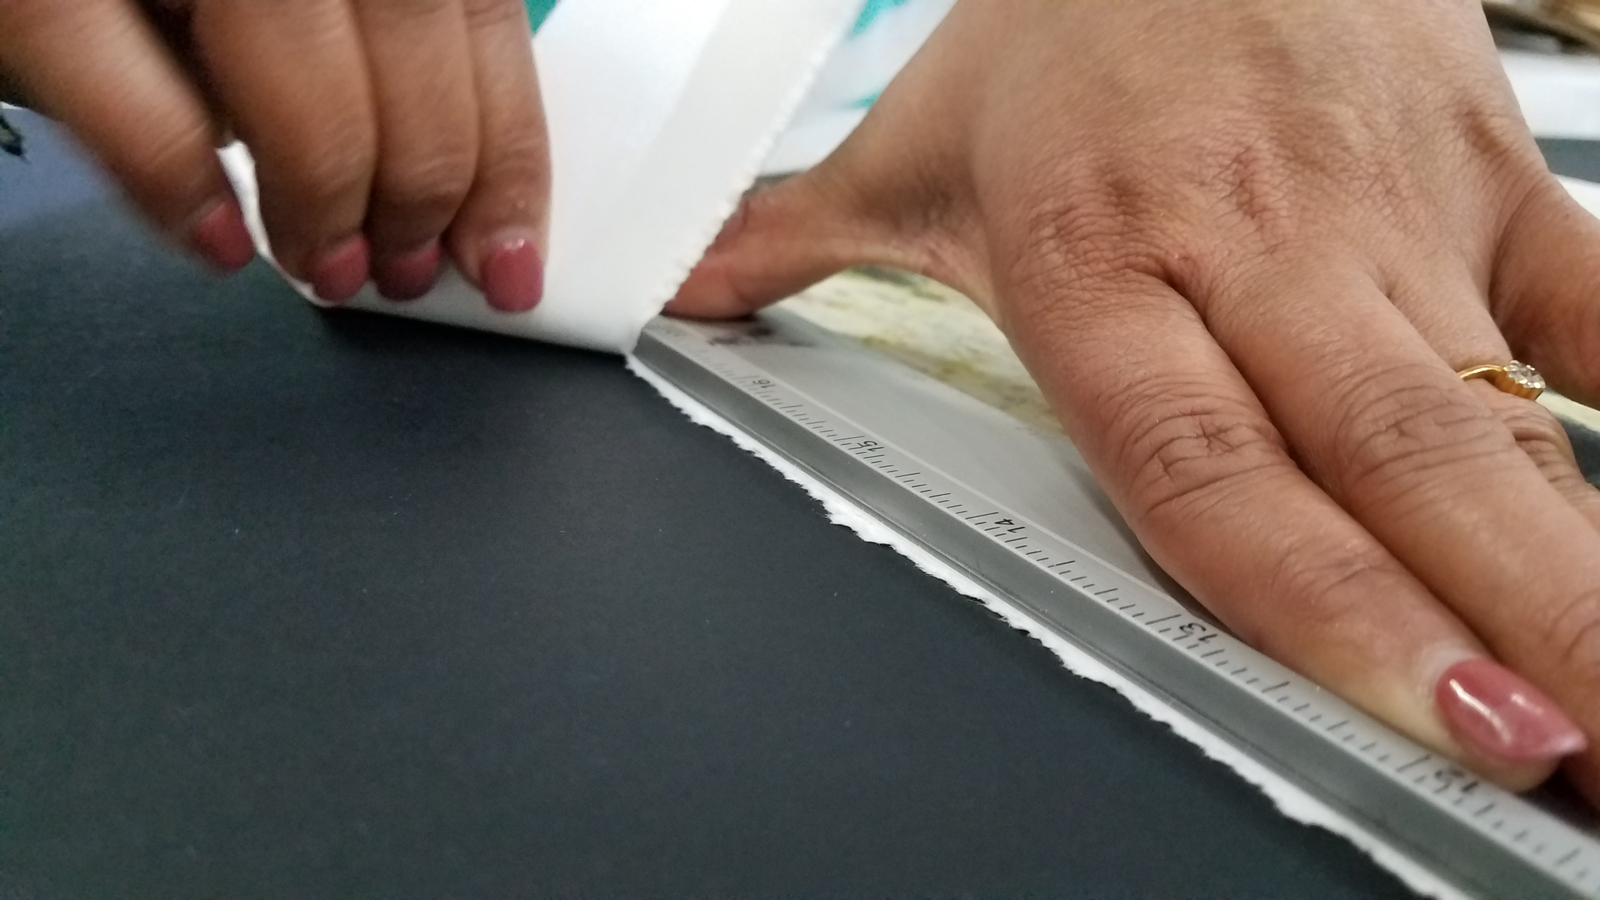
Dual Edge Ripper
This method uses something called the Dual Edge Ripper. There are other similar tools out there but this one is my favorite and a good investment if you do this a lot.

Some Final Tips
Before you do either one of these, I recommend practicing on some heavy card stock that will be about the thickness of the paper prints you use. While the amount of pressure and the softness of the tear might not be the same depending on the materials of the paper, it gives you some sort of idea of what to expect before tearing into your prints.
The best paper is one that is very fibrous such as cotton base paper. Just be aware sometimes these papers may mute tones more.
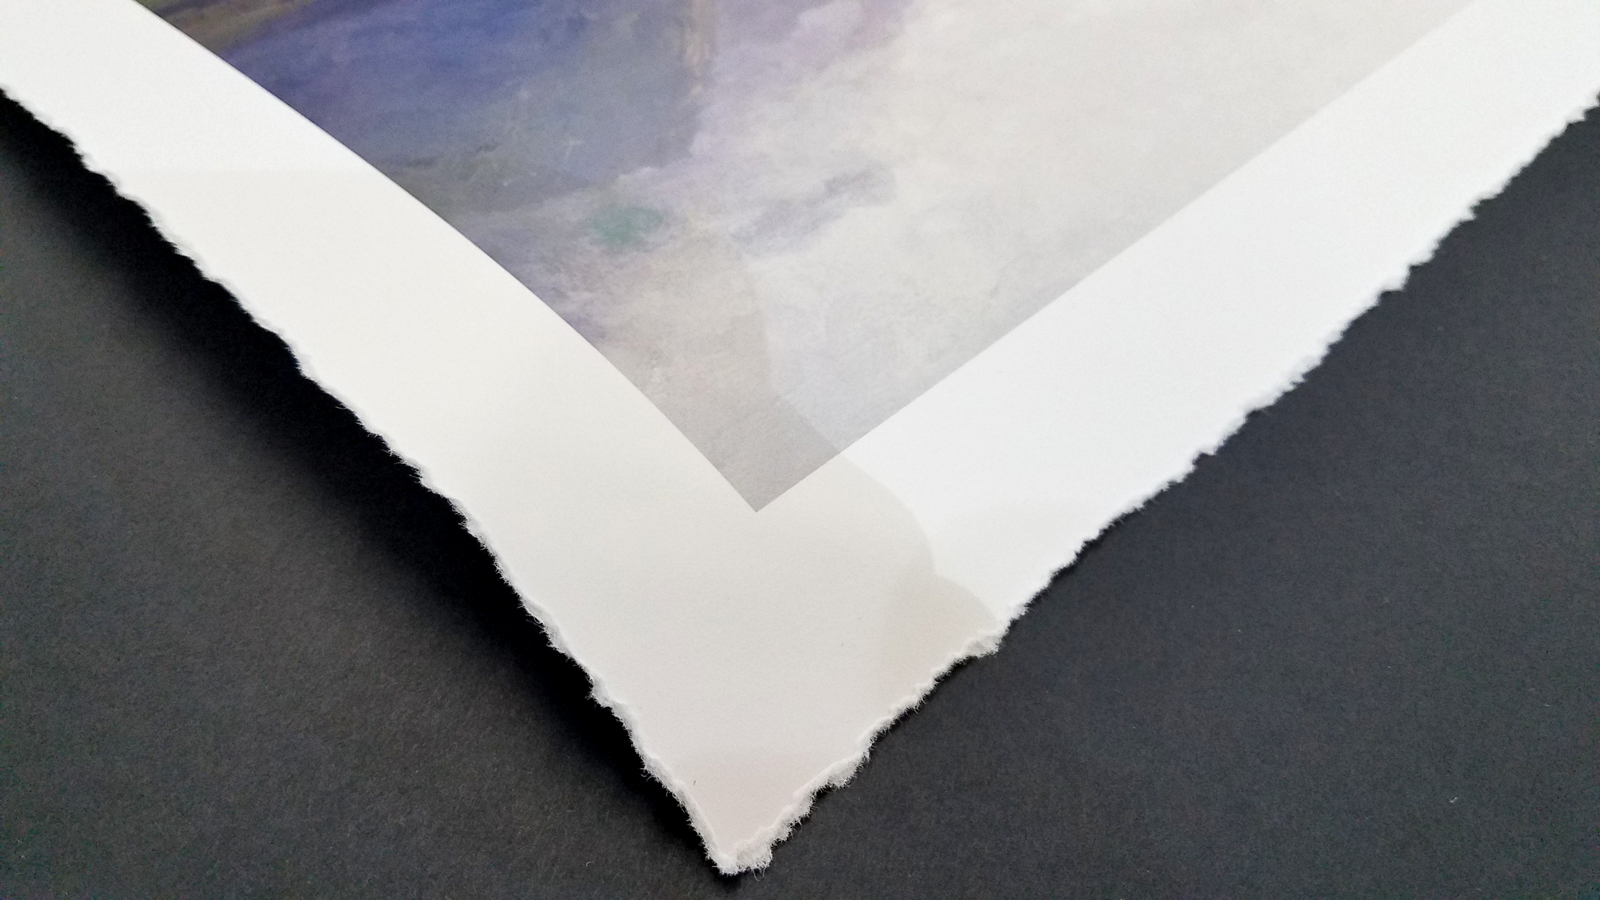
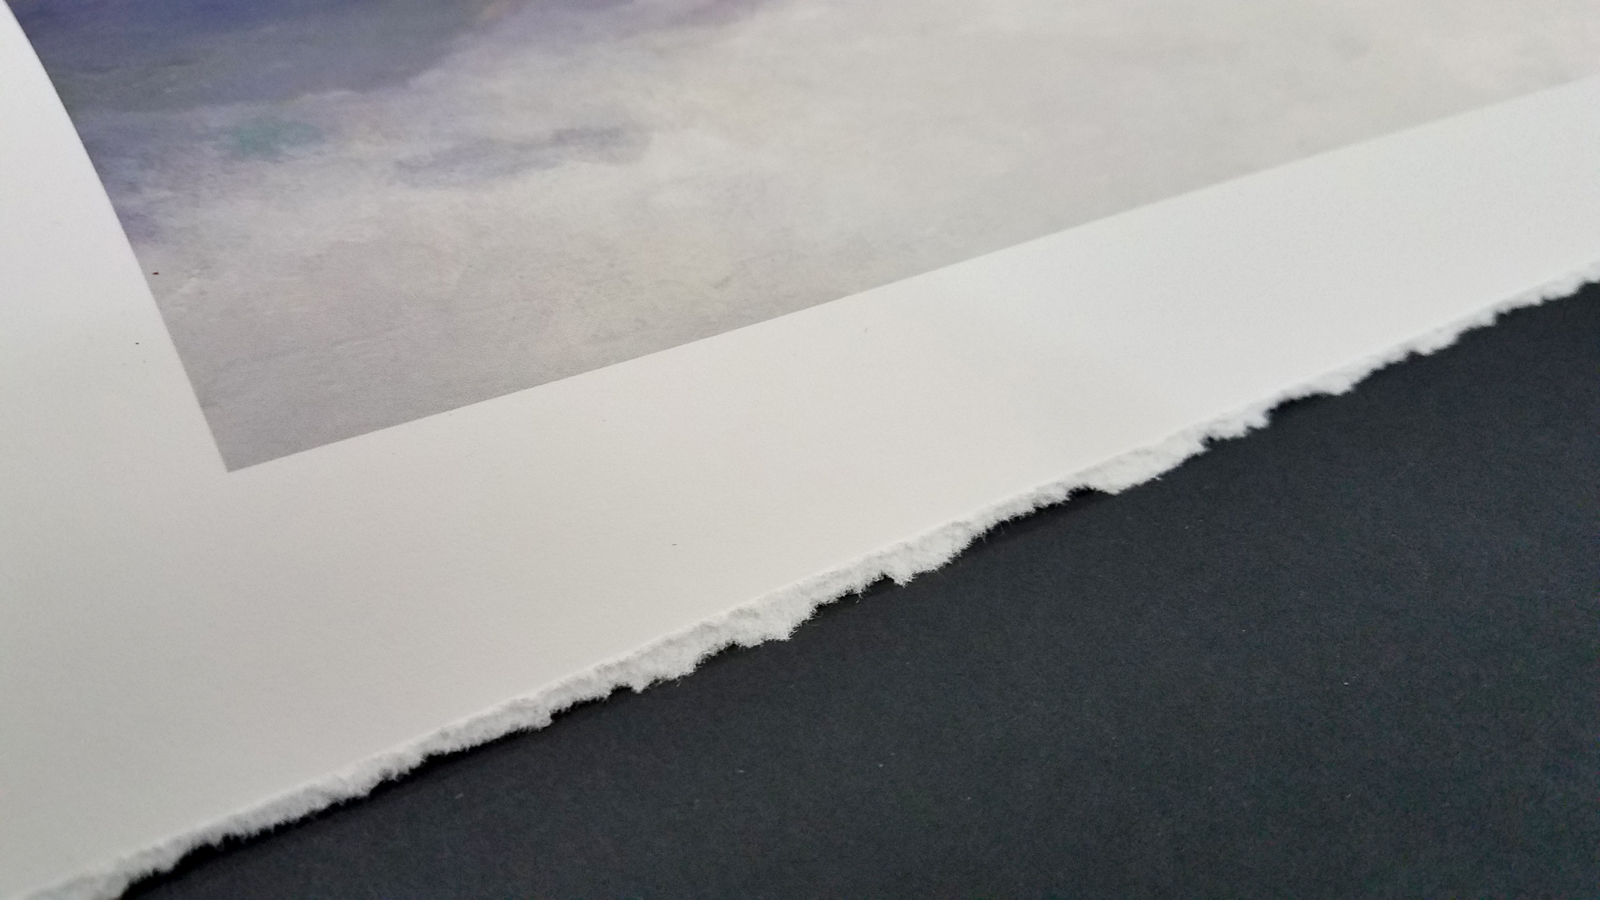
Unless you are going borderless, you will want your print to have about a 2-inch border. If the border is too small you might find achieving a nice even tear on each side more difficult.
If you use water to soften the crease (first method) be very careful not to get water on where the image is. The best fine art papers for torn edges will be very absorbent of water plus the colors will potentially discolor or even run if water gets on them.
Feel free to share your thoughts and techniques on creating a deckled edge print.
Turn the art face down on a surface. Place the ruler down on what is now the reverse side of the art or print,and tear. The “ruler mark” will now be on the reverse and you won’t see it on the front side. Works for me.
Good info. But which of the papers that you offer would be best to order if we want to deckle the edge once the print is done?
The regular fine art paper (somerset velvet) or cotton etching are two that are very good for this since they are relatively softer paper in comparison to some of the others. Also the Hahnemuehle Photo Rag is popular for deckled edges.