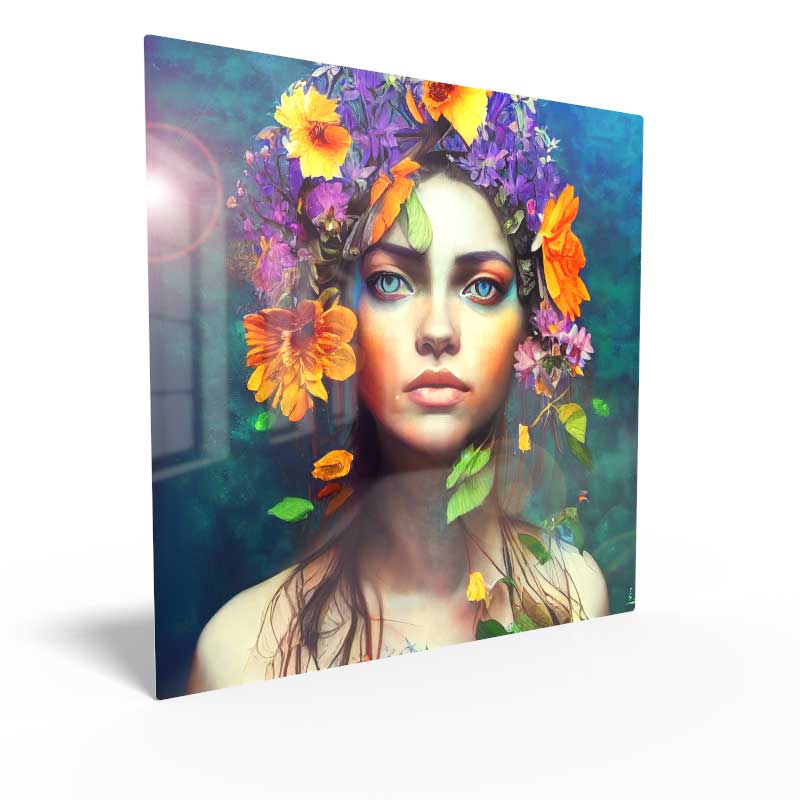
Our calibration print is a special 8×10 print you can order which allows you to adjust your monitor to try to match the print. Once you have done this and start working on your images on your computer you will be working on an image which is more closely aligned to industry color standards versus. While you can order this print on most of the media types we offer, there is no need to order more than one since colors print on all fairly consistent on all of them. Sure you will see some slight differences if you ordered more than one calibration print and on different papers but don’t use the calibration print to determine what media type is best to print your images. For that we recommend printing some of your actual work on the different papers and see which either sells the best or you like most. The calibration print is mainly to try to bring your monitor into a state which is closer to the standards at which we we print.
Order or Download Color Calibration Print (PDF)
Once you have received your actual calibration print in the mail, download the PDF (also found in the above ordering link) and use it to compare. Hold the print up to your computer monitor while viewing the downloaded copy. Make adjustments to your computer monitor’s color settings. If you are not sure how to do this please consult your computer’s manual or have someone with general computer knowledge help you with this. Once you have made the appropriate adjustments to your computer monitor, images displayed on your screen should be displayed in a more accurate fashion.
Examine Brightness Levels
Use the gray scale strip as a reference to check if your screen is too bright or too dark. The strip consists of a number of gray scale patches starting with white and ending with black. Each patch starting from white should get consistently darker on your screen. Adjust your screens brightness level until you can see all the patches from white to black.
Examine Color Accuracy
When looking at your calibration print try to view it in as natural a light as possible. Adjust the color settings on your screen by trying to match as many colors you see as possible. While you might find it difficult to match every color exactly, simply getting in the ballpark will go a long way. Overhead florescence or incandescent bulbs can have a dramatic impact on the perception of colors and cause colors to shift or appear slightly different in your calibration print. Blues tend to shift the most and people sometimes think the blue in the print is too purplish when viewing under florescent lights. Sunlight, even on a cloudy day provides the best and most accurate viewing circumstance.
Matching Other Prints
If you sometimes print images on your inkjet printer at home and are concerned about your FinerWorks prints looking the same, one thing you can do is print the color calibration file on your favorite inkjet paper you use for your home made prints. Compare it with the calibration print you ordered. Depending on the type of printer you used, paper and and your printer or print software settings you may or may not see a difference. In general, assuming you have a decent inkjet printer, you should see a similar output. Some differences are possible since we use an advanced printing software and color management based on industry color standards.
Order HD Chromaluxe® Metal Prints
Print your artwork or photography as custom-size metal prints. Using the dye-sublimation process, your image is fused to the surface of rigid aluminum panels. These provide a modern look when decorating your home or office. Choose from multiple metal surface options. Order it framed, with a float wall mounting or even with a tabletop easel back.
