Recently we discussed the pros of using flatbed scanners to create digital image files of your artwork. But because artwork (and photograph) sizes don’t always conform to the limits of the traditional desktop scanner, today we are going to learn how to use the photomerge tool in Adobe Photoshop to stitch our artwork back together before saving it as an individual file.
For those of you who recall, we talked about scanning separate sections of artwork in order to successfully digitize it. But before we talk about photostitching with Photoshop, I want to invite you to review Should I Photograph My Art or Scan It? This is a helpful article because it addresses some of the misconceptions that we tend to have when it comes to having artwork photographed. Just let me warn you, there is a limit to the size of the artwork to be scanned. The last thing I want is for you to end up with creases and folds on your original because you are trying to scan the entire surface of a piece that just plain won’t fit. This is going to apply to any artwork (or photograph) which is more than twice the height/width of your scanner. Typically you can successfully scan pieces as large as 18×24. If you have something larger, unfortunately you may have to resign yourself to paying the piper and getting it professional photographed in a highly controlled environment (remember: flashes, sharpness/clarity issues, and ambient lighting all play a key, and sometimes negative, role in the quality of the digital photo.)
I also want to quickly remind everyone that no matter which method you use to convert to digital – your image will ultimately be transferred to a format view-able on your computer screen (monitor) and that can make for some seemingly drastic visual changes. I cannot stress enough, the importance of properly calibrating your monitor with software/hardware designed for professional monitor calibration. There is NO WAY GETTING AROUND CALIBRATION, unless you absolutely DO NOT give a hoot about color and image quality (then by all means, forgo the calibrating).
Let’s get started!
1. The first step is up to you entirely. Scan all sections of your artwork or photograph. Save each individual image in a place where you can easily get to them in a couple moments. You may have as few as 3 sections or as many as 6.
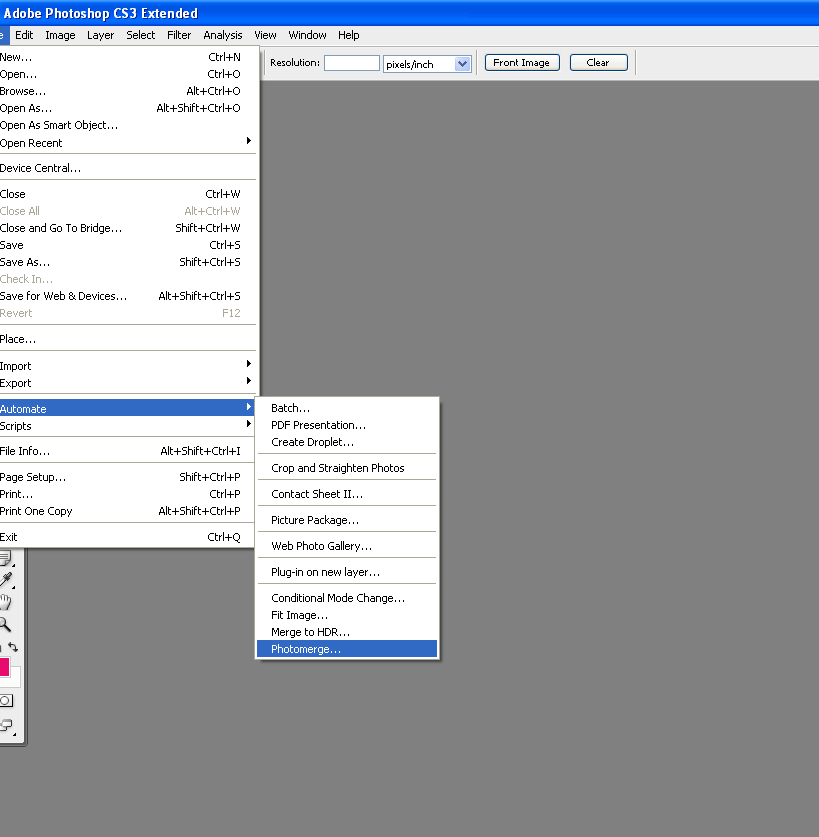
2. Go ahead and open up Photoshop, and File>Automate>Photomerge
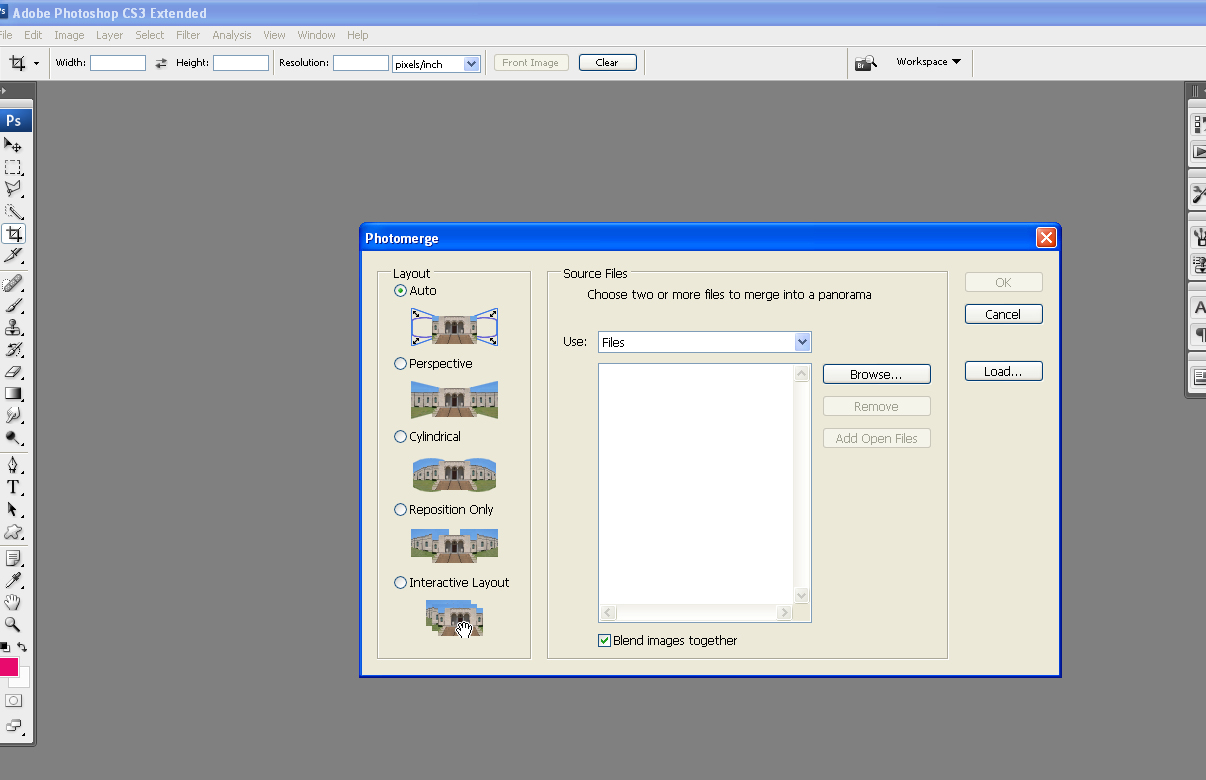
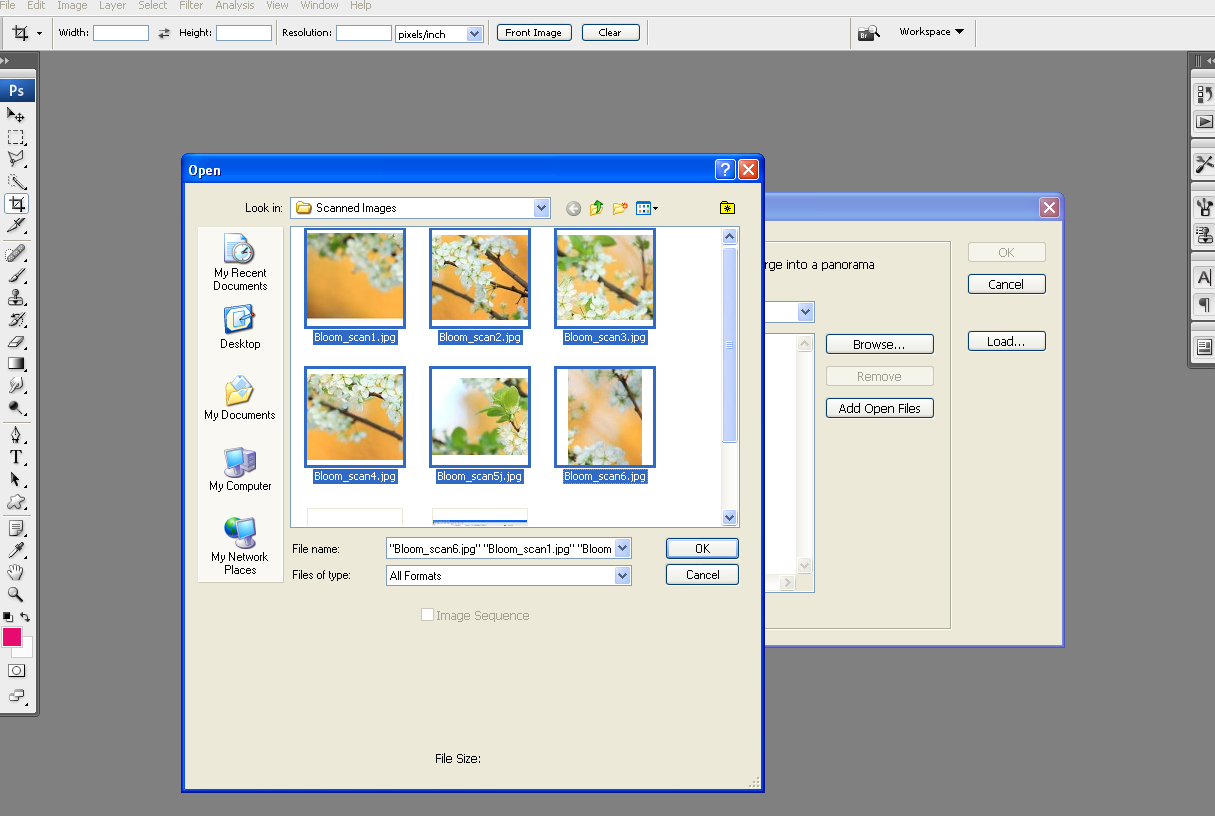
3. This window helps you import all the sections into your photomerge tool. Click on Browse to add your scanned sections.
4. Once you have selected all the sections, click OK.
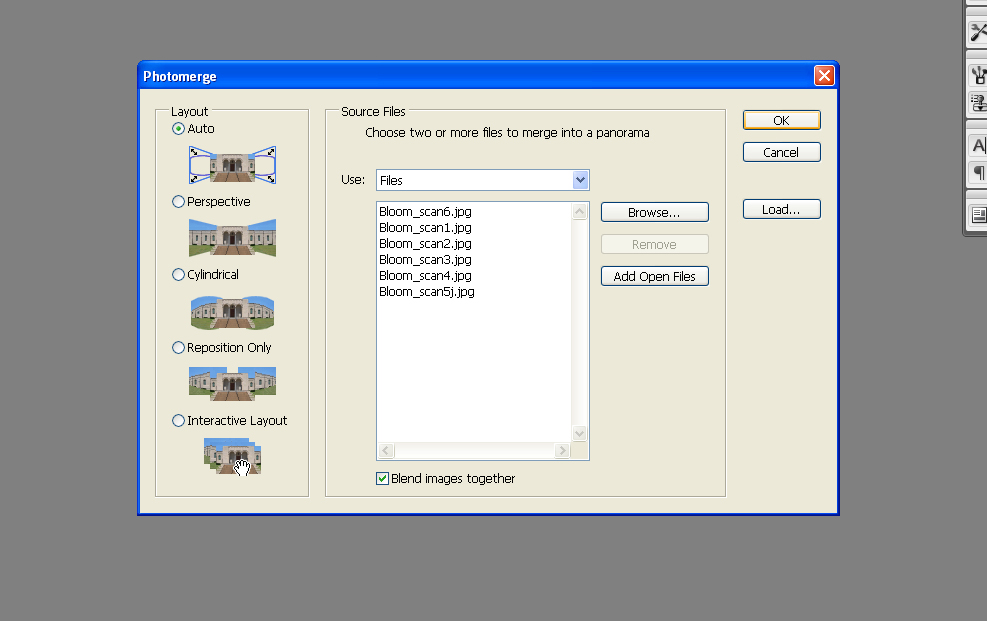
5. With your layout set to Auto, Confirm that your Blend Images Together box is checked and click OK.
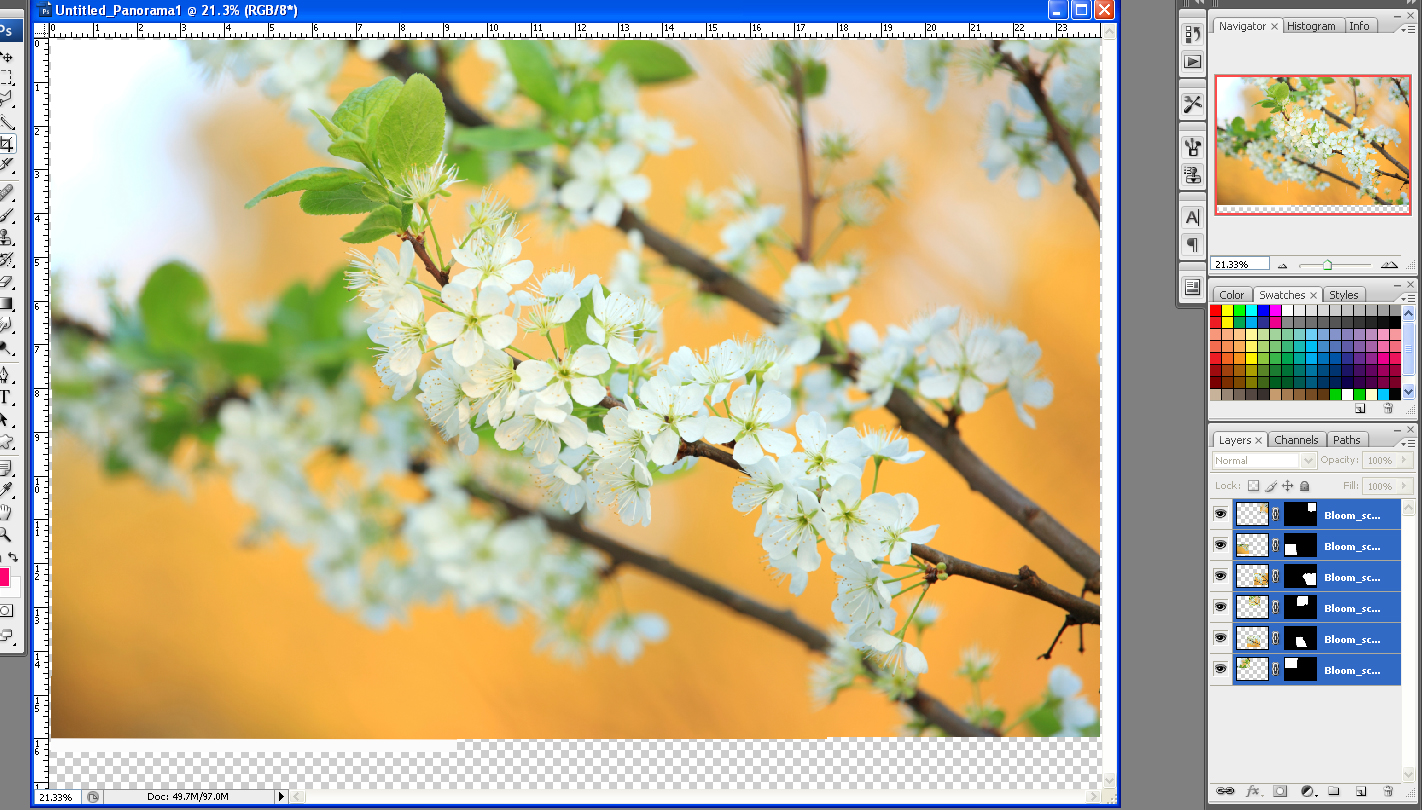
6. Now sit back and watch as photomerge does its thing. Once it is finished merging your sections – it will look something like this (below). Notice the 6 layers on the bottom right. Sure you coulda’ done this without photomerge, but who has that kinda time? Now, duplicate your newly merged image and crop, adjust, and edit as you like!

