Your Prints Up Close

I remember back in the mid to late 90s being exposed to the photographic quality inkjet prints were producing around then. A co-worker of mine who photographed little league sports photography on the side and sold the prints he made to the parents. He had invested in a HP printer which produced remarkable 8×10 photo prints for that time. When he showed me the print quality I was enamored and decided I wanted to get my hands on a good quality inkjet printer so that I could make prints of my digital artwork.

Back then it was all about the ink droplet resolution and how discernable those droplets were. Granted since then, inkjet printing has come along way, but I recall seeing samples at the computer store of printers capability and trying to see how tight that resolution was.

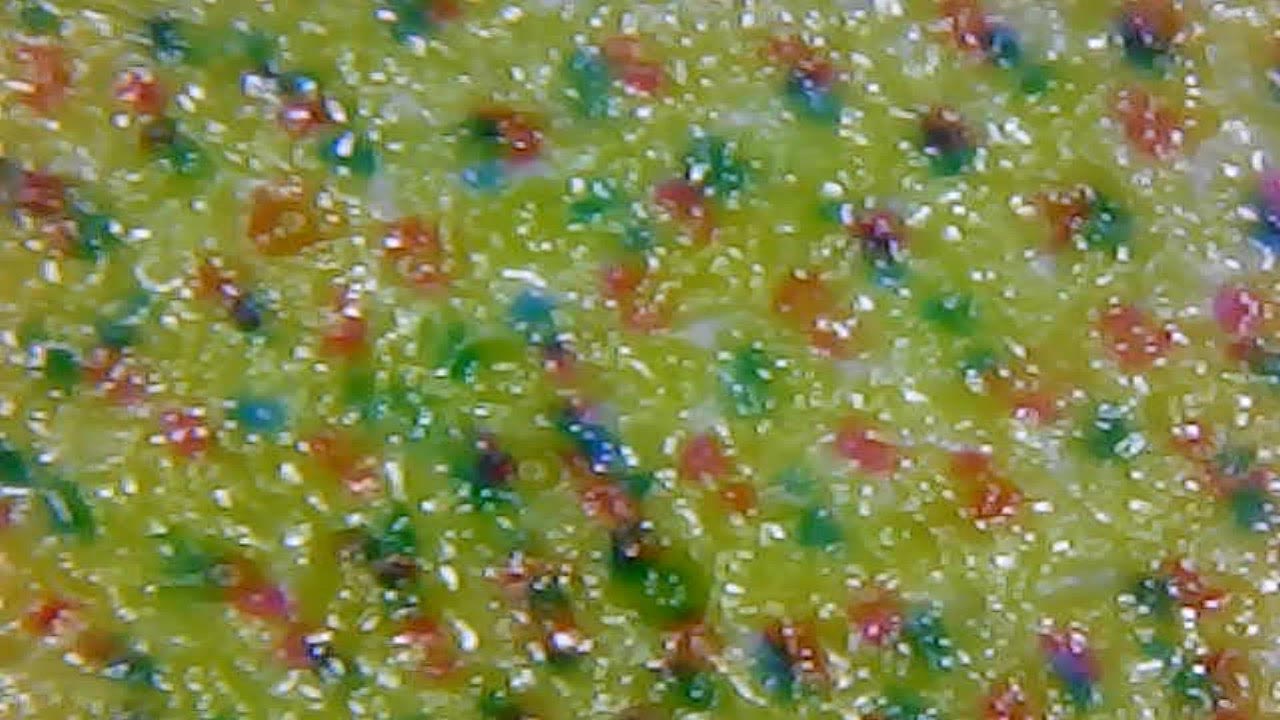
I am still fascinated by this, so I decided to have some fun the other day with an inexpensive digital microscope we can use to inspect results when we check and calibrate the print head alignment for some of our large format printers.  Below are some examples which were captured at roughly 800x in magnification.

For something to compare, this is how a very fine line from a blue ink ball point pen came out. You don’t really see any ink droplets as much as the pattern from the pigments within the ink.
Dye Based Inks on Kodak Professional Lustre  – Dye based inks are quite common now in professional photo prints like you frequently see when printing at Costco or your local drug store. Dye based inks are normally not quite as archival as pigmented inks (below) but they still yield a wide color range and may have a smoother transitions in color.
Pigmented Inks on Hahnemuehle Photo Rag – This is actually a black and white print. As you can see even a black and white print has color in it. This is to offset and adjust the tone to compensate for the brightness level of the paper. Without these color ink droplets your black and white photos would look too warm or have a slight yellowish tone.
Dye Sublimation Inks on Ceramic Tile – Dye sublimation printing is handled a little differently. The inks are first printed on a transfer paper, then through heat and pressure the image from the transfer paper is fused to a coated surface. The end results are the dyes from the inks are not on the actual surface but just under the surface and the original dots blend together being less pronounced.
UV-Cured Inks on Dibond -The ink droplets get hidden by the bumps and valleys of the metal’s texture. In some areas they may be more visible and might be visible under less magnification.
UV-cured Inks on Wood – A layer of white ink was applied along with color inks. The white layer is applied very thickly so the dots are not discernable but the light dusting of color shows some ink droplets in are area of where the image has some off-white tones.

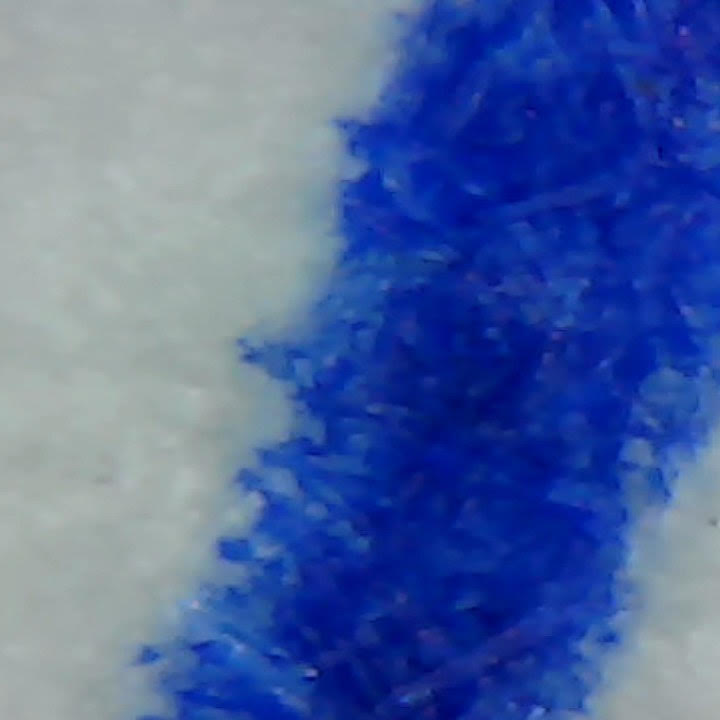
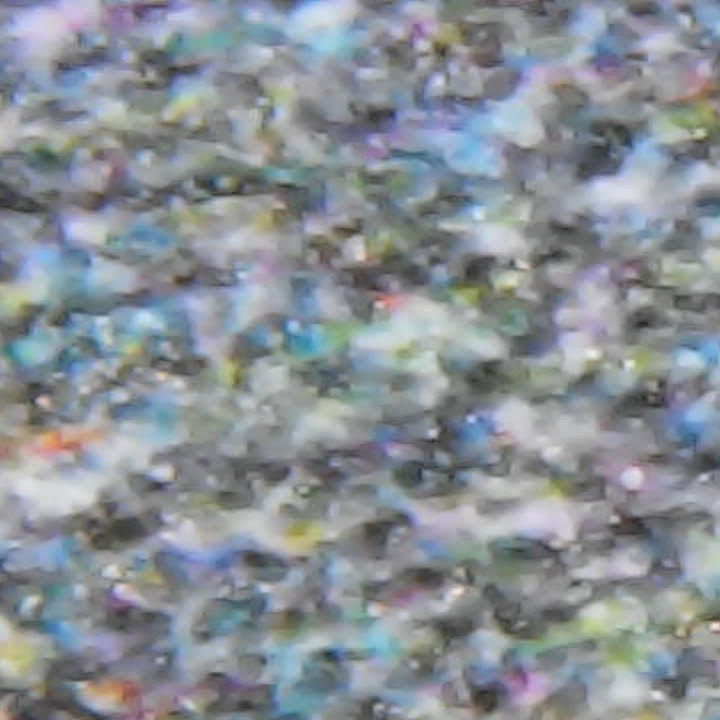
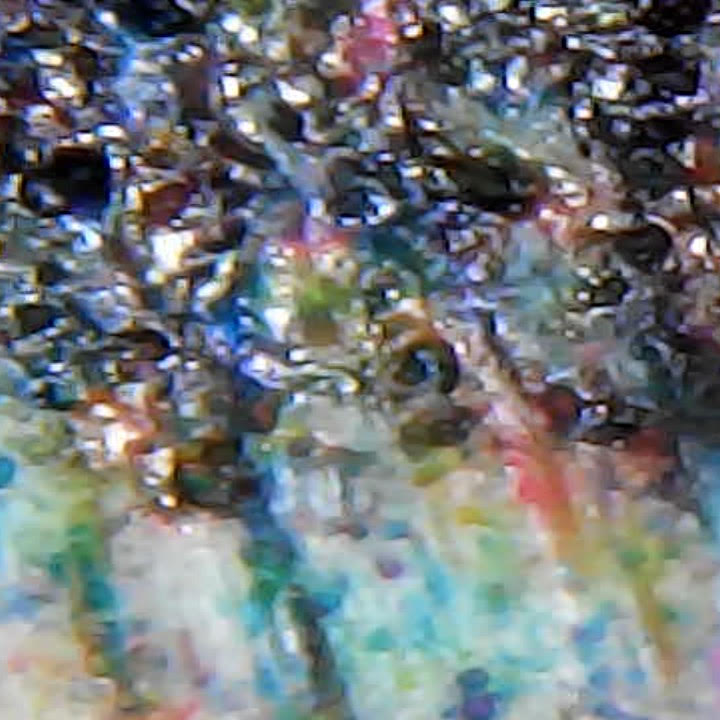
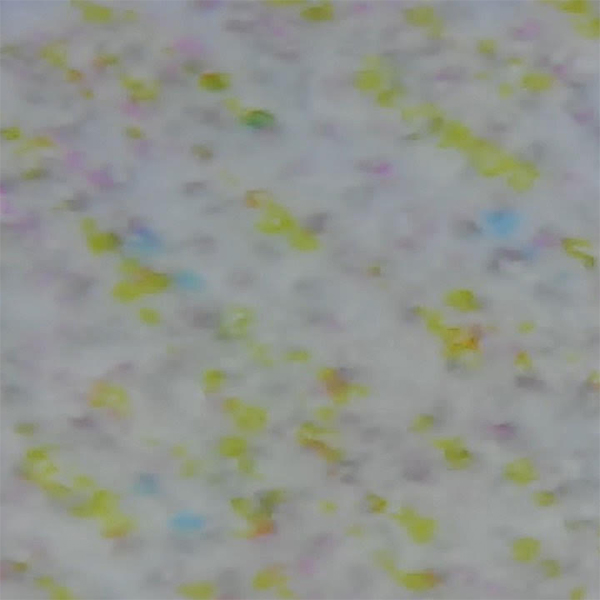
As you can see with most of the examples, ink is not always laid our in a perfect grid like pattern. This means when you print at 300 dots per inch (DPI) or higher, the ink droplets will be dispersed in no discernable pattern you can see under magnification. As I have said before, DPI versus pixels per inch (PPI) is not a one-to-one correlation. In other words the pattern of pixels in a digital file will always be in a even grid pattern but the actual ink droplets vary since they are applied via a series of passes by the inkjet nozzles. This leaves what looks like uneven pattern. But the end results when seen with the overall print naked eye is an impressive rendition of the digital image in print.

Order HD Face Mounted Acrylic Prints

Printed on high quality photo paper and face mounted to 1/4″ acrylic with polished edges. Choose between satin luster or metallic photo paper. Included is easy to install hanging hardware in the form of a French cleat.

Learn more…


Leave a Reply

Your email address will not be published. Required fields are marked *