In recent months we have met many artists and fine art photographers new to printing their work. Every day more and more come to FinerWorks with inquiries as they begin the process of producing and selling their prints. To help those new to all of this, I have come up with a list of rules for printing your fine art.
These rules are not always set in stone but should assist in giving a better understanding where to start. For those that have been printing with FinerWorks for a while, perhaps some of these rules can help you improve the results of when you order prints.
- Save your artwork to a digital file
- Store in high quality file formats
- The larger your print, the less sharp your image
- Print on media that best compliments your image
- Choose print sizes that closest match the original aspect
- Watch out for your signature
Convert your artwork to a digital file
This is the required for any sort of modern printing. If you are working in a traditional mediums of fine art such as painting, drawing, film photography, etc, you will need to create digital images of your art. It requires photographing or scanning your artwork and doing some sort of editing to the image file afterwards to crop out the background and get the colors looking right. For many traditional artists, this is the most difficult stage, however the tools needed are prevalent and not that expensive anymore if you want to do it yourself. And it becomes easier with experience. Some printing companies may offer this for you, but you will pay a hefty premium for the service and the prints, plus will need to send them the original artwork. If you are not technically minded, get the help of a friend or family member that might be more technical. Search topics on Google or YouTube on how to photograph your artwork. If your artwork is small enough, you might even be able to scan it with an old desktop scanner which still yield some of the best results.
Store in high quality file formats
There are various file formats to store your images. The best formats are BMP, TIF or even PSD (Photoshop). Some printing companies may require you to submit your files as JPGs but when doing so, save them at their highest quality setting. Whatever software you use to edit your image should give the option to “save as”. When you do, save it as a JPG copy for submission purposes.
Keep your files safe
Store your original scanned/photographed and edited files both on a physical device (thumb drive, DVD, hard drive etc.) as well as in the cloud as backup. If you have an Apple ID you can store them in iClould. Other options might be Google Drive, and Dropbox. There are other file storing services that you might already be familiar with as well. I cannot stress how important this is. We have met more than one artist who had lost all their digital files of their art. Many were paintings that were sold therefore the artists lost the ability to continue to produce them as prints which was a key source of revenue for them.
The larger your print, the less sharp your image
Smaller prints are easy to produce, sell and can help you proof your work for color accuracy. But when you are ready to print bigger, you might notice a difference. Blowing up your file could mean a loss in how crisp and sharp the image will print if your file is too small. However, the larger the print, the further away the viewer will likely need to be to see it properly in which case the loss of clarity might be less of an issue.
Print on media that best compliments your image
FinerWorks has a wide range of fine art papers, canvas, and alternative printing formats. The surfaces vary from glossy to matte, smooth to textured. Find a few you like and stick with them. This is important if you are seeking to develop a base of collectors over time. If you are very particular, this takes some trial and error on your part since it may seem some medias offer improved tones or display details better than others.
Choose print sizes that closest match the original aspect
This means pick a size that is of a similar shape. If your artwork is squarer in aspect, do not choose a very rectangular size when ordering. Also understand portrait aspect vs landscape aspect. Portrait aspect refers to when a picture is taller than it is wider while landscape aspect means the image is wider than taller. Try to choose a size that most closely matches the aspect.
Watch out for your signature
If your artwork has a signature you want to be displayed, make sure the size you choose does not cut it off or cause it to be too near the edge. If it is too close to the edge, the lip of the frame could potentially cover it up some. It can look unprofessional when the signature is only partially visible. Either adjust your print size, reposition the image if you can or remove/crop it completely out and sign your print by hand.
These were my top rules for artists wanting to print their work, especially at FinerWorks, now one of the leaders in producing fine art prints. Most of these rules will also be applicable with other printers as well. You do not have to follow all of them, but it can save some headache down the line and result in better prints.

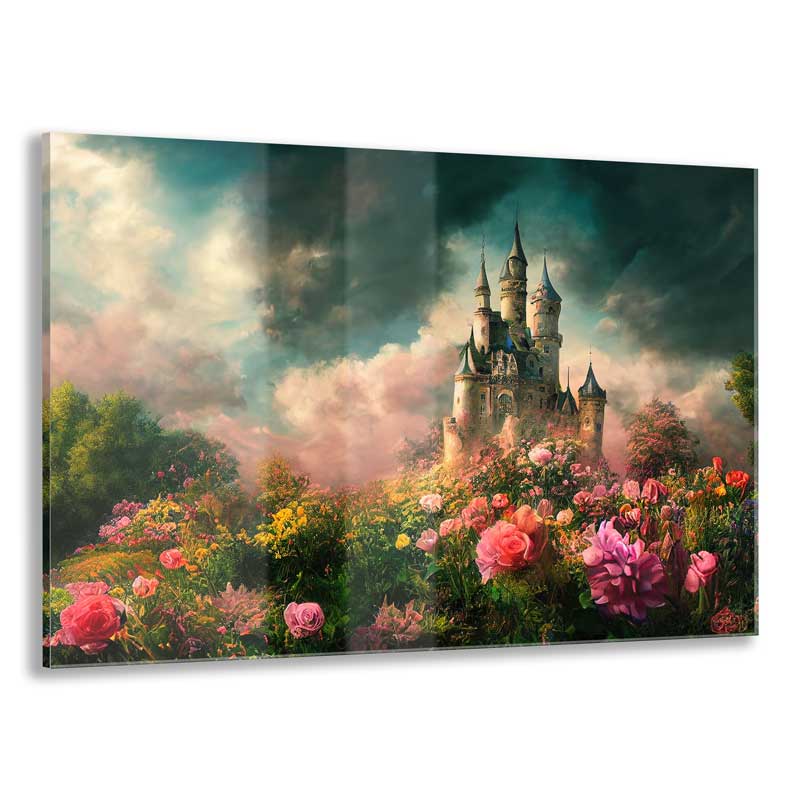
Order HD Face Mounted Acrylic Prints
Printed on high quality photo paper and face mounted to 1/4″ acrylic with polished edges. Choose between satin luster or metallic photo paper. Included is easy to install hanging hardware in the form of a French cleat.
