Both online and offline we always seem to be talking about what happens when images are too dark or not being properly color balanced but we don’t talk enough about overexposed images. Overexposed images are not only due to slower shutter speeds of a camera but also because the image was made too bright in both the dark and lighter areas. For art reproductions this can impact everything from how visible are the individual brush strokes to the ability to discern an underlying canvas texture. For photographers it simply means a less detailed photograph.
Normally an overexposed image is one way to describe photos or artwork in which the lighter details are “blown out”. This term is what people in the visual arts world may use to describe areas of an image in which the parts of it lack color or detail. Showing up instead are bright white patches which in digital images files are seen as big blank areas void of any image data which would otherwise make up the colors. Remember, a digital image is made up of pixels which are elements of color data. When an image appears overexposed or too bright, you get white pixels in place of colored pixels. The bad news is you can’t bring that data back unless you have a copy of the image with those details.
A well balanced image usually will have light tones, mid tones and dark tones. The average customer who has us print their image wants as many of these details to show up in print as possible. An example might be a picture of a seascape with billowing storm clouds on the horizon. Some of these clouds and sun behind the clouds may make up your lighter tones while your ocean could be your mid tones. Any shadows or darker clouds would be your dark tones. This is just an example and the amount of light to dark tones will vary from image but it should give you a rough idea of what we are talking about.
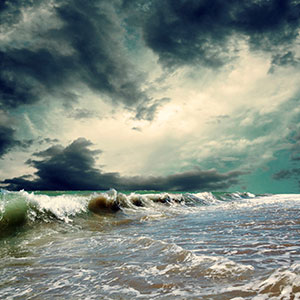
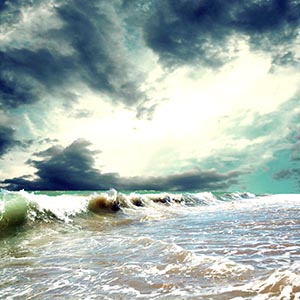
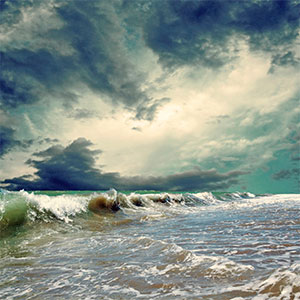
To avoid having prints too dark we encourage customers to brighten up their files, especially when they are not using calibrated monitors. But on occasion they will overdo it to the extent important details are lost. Going back to our example, the brighter clouds with the sun behind them may lose details and become just a white mess (Fig 2). While it may still be obvious you have clouds in the sky, wouldn’t you want the subtle shadows which give your clouds texture and depth be visible as in Fig 3? It’s the ability to show in your print all these minute details which make today’s modern giclee printing so favorable with artists and photographers. But if your image does not have the data then the details won't show up in print.
Fortunately programs like Photoshop and Photoshop Elements have tools which allow you to avoid over exposing those light areas while still brightening those areas which are too dark. In both programs you have the “Image > Adjustment > Shadows / Highlights” option. This process makes it very easy to adjust your mid tones and dark tones without overly brightening your lighter areas. Be careful though, since sometimes this gives images an artificial HDR look when using the default settings. To avoid this I usually bring the tonal width slider down from the default 50% to something less. Some of the photographers which order from FinerWorks will select the "Color Correction" option when ordering their giclee prints. We use several methods to do this, some more automated then others but we we are not above opening the image in Photoshop and using this tool just as described.
The following screen shots show how we might to it in Photoshop:


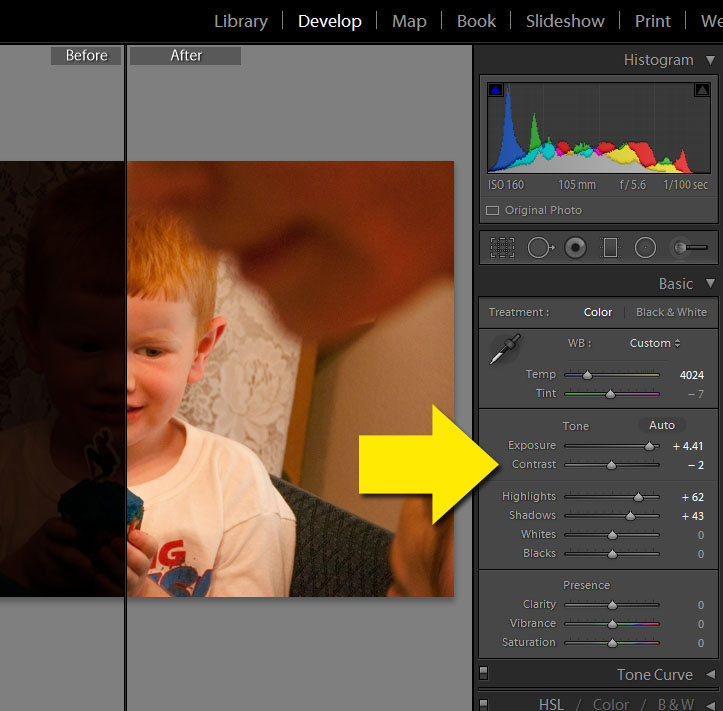
Early Lightroom users may also be familiar with the “Fill Light” tool which does much of the same. They called it a fill light because most photographers would be familiar with the concept of using their flash, even during the day to compensate for potential dark shadows in their shot. In newer versions Adobe replaced the fill light slider with a series of exposure, shadow, highlight sliders in the Develop module. These give you a lot of control while being simple to use. In the below photo of my nephew, I was able to lighten an underexposed shot which was too dark without blowing out his shirt or other details.
And of course there are more advanced methods of adjusting the brightness levels without destroying your image but this get’s too in-depth to easily describe here. For those interested, I would recommend doing a YouTube search on working with curves and levels in your favorite image editing program. But to get an idea as to how the Shadows and Highlights tool compares to the more popular but less capable Brightness and Contrast tool in Photoshop, take a look at this quick example video below.
So by all means brighten your images. But when doing so keep in check those lighter areas so the image does not look overly bright in certain areas. In the end by being aware of your light tones, mind tones and dark tones you should be pleasantly surprised by the details you would otherwise not see in your prints.
Order Giclee Printing on Canvas
Printed using some of the highest archival standards in the industry, your photos or artwork will last for decades to come.
