
In part 1 on the topic of packaging your artwork, we focused on some best practices when shipping only a few prints at most by using either rigid flat mailers or shipping tubes. Now in part 2 of packaging your prints, we explore shipping larger bulkier items such as a large volume of prints, stretched and mounted canvas, or framed prints. Because these orders contain print-on-demand products that are bigger and cannot be shipped rolled, packaging them correctly and affordably is the biggest challenge but it can be done. Let us look at a number of best practices when doing so.
Finding the Right Size Box
This is perhaps the most difficult part of the process. That is searching for the correct size box but discovering there are limited choices. Most boxes you find will be very cubic in dimensions. This could mean you find a box to fit your framed print but it also likely means an oversized box that leaves a lot of empty space in the box to fill.
The other problem associated with an oversize box is you might find when you ship the package, it becomes subject to something called dimensional weight. UPS’ definition describes it as “package density, which is the amount of space a package occupies in relation to its actual weight.” This means even if the package is relatively light, the carrier bills it as heavier than it really is. Just look at it the larger and bulkier the package, the greater the cost factor. At times this cannot be avoided but keeping your dimensional weight down can lower your shipping cost. All major carriers from USPS to FEDEX have implemented this as either a surcharge or simply tacked onto the rate you get.
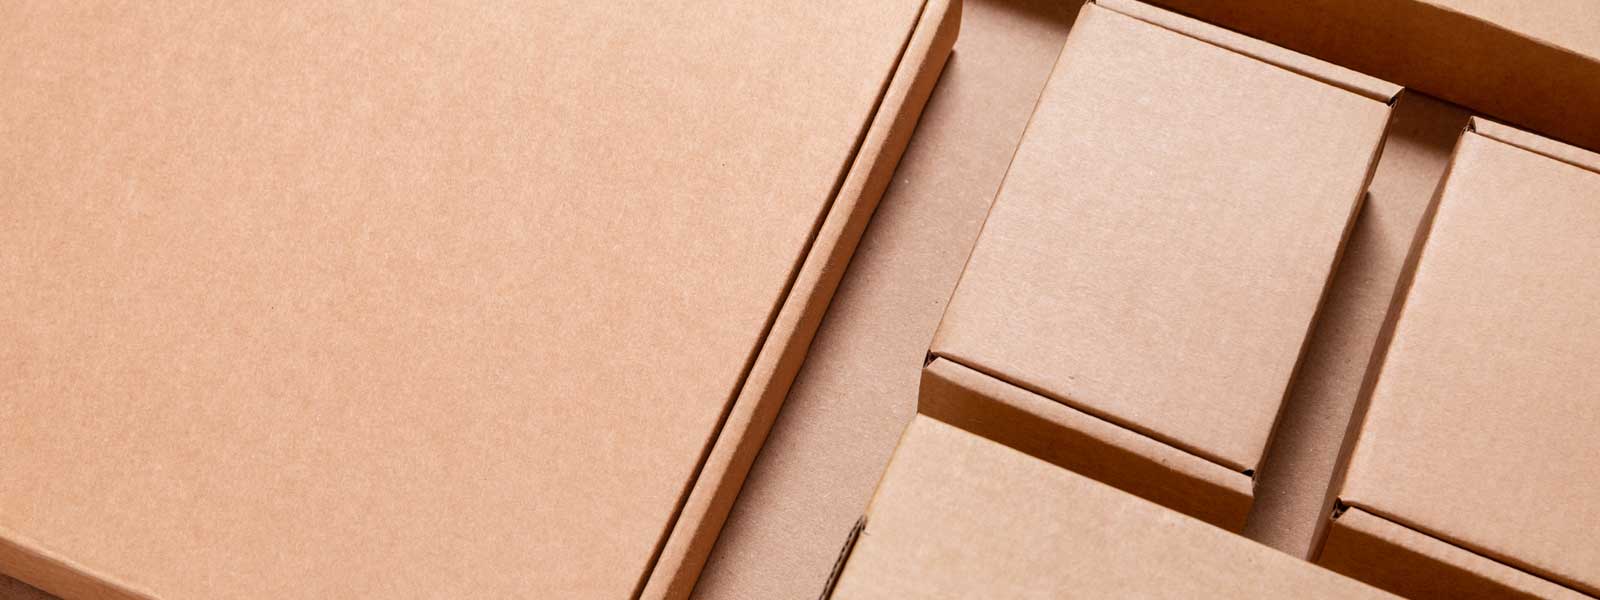
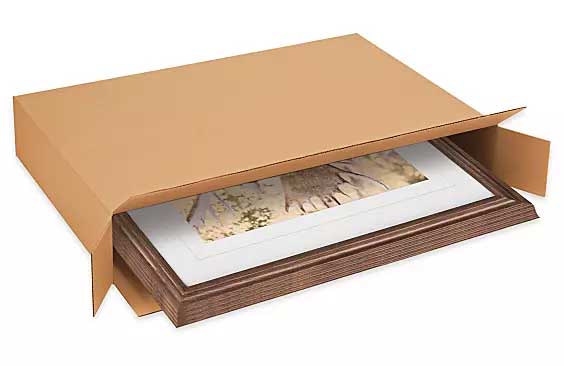
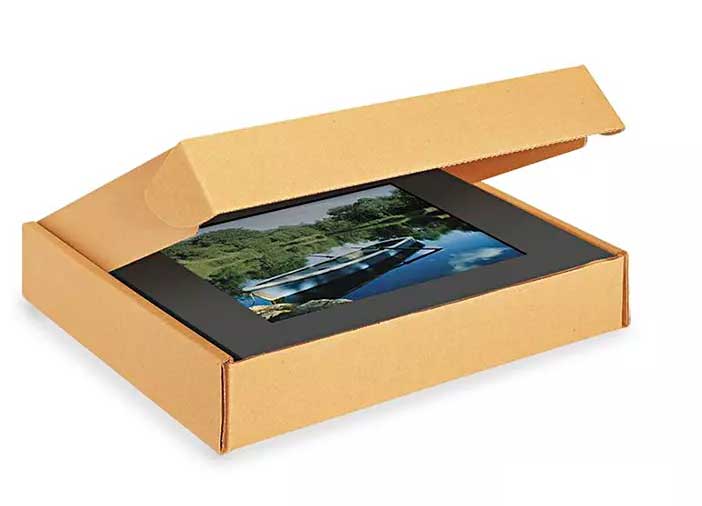
In most instances since you are shipping more flat items like a framed print or canvas, you probably want boxes that are also relatively flat. You will likely have to shop online for these since they are not very common at your local store. Uline has quite a good selection. Some of my favorite choices are “side loading” boxes and what we affectionately call “pizza boxes” which are Kraft mailers that remind you of pizza boxes in their design.
Make Your Own Boxes
Even with the large selection online, you still might not find the ideal box. If that is the case, you may want to consider modifying an existing box or even creating your own boxes from flat corrugated sheets of cardboard. All it takes is the cardboard, some tape, a large straight-edge aluminum ruler you can easily find at Home Depot, and a few other essential items you may have to lie around the house. Many industries (including FinerWorks) have staff that spends much focused on producing custom boxes to ship their orders. Us, we now use large specialty cutting machines to do more of this work but we still do many by hand as well. The only downside is that doing them by hand is labor intensive and therefore costly in the long run in the form of the time it takes to make these. For a few examples of both creating a box from scratch as well as modifying an existing box, check out these two YouTube videos.
Use Inner Packaging & Cushioning
This may seem like common sense but creating some sort of barrier since we know a box loses its strength will help in preserving those precious pieces of fine art. At FinerWorks, we accomplish this by using cardboard sheet inserts or foam panels. With the cardboard inserts, we will usually secure the item to one or two. This suspends the print partially which acts as a buffer between the edges of the outer box and the item it contains. There are options to serve the purpose of creating this protection zone you can find either online at your local office supply store or online. They include foam peanuts (I recommend biodegradable versions), Kraft paper which can be stuffed around the sides and act as a void filler, to bubble wrap. Again, a good place to shop for these types of items is ULINE.
Some carriers like UPS and FedEx require a two-inch buffer between the item and the outer walls of the package. If possible try to have such a buffer space in your packaging. When (note I say when) you are in the position of having to replace a damaged product the carrier damaged during shipping, they will not accept a claim and reimburse you to replace the damaged item unless this buffer space.
Try Not to Re-Use the Original Box
Some time back a customer asked me if there was any reason they could not re-use the box we initially shipped his canvas prints in. This customer preferred we produce his stretched and mounted canvas and then ship the order to him so he could sing them. He then re-shipped them to his customer.
I told him one of the things you must be aware of when packaging a bulkier item is the box. Like him, some of our users choose to reuse and repackage using the same box we initially send a print in. But this is risky at times. Take for instance his canvas prints which we shipped in a 18x24x4” or a 30x24x4″ box. It is important to realize these boxes are really meant for one-time use. What I mean by that is these boxes have a hard time standing up to the stress of being used again. One of the things you might have noticed if you receive a box from us or anywhere for that matter is the box tends to arrive a little beat up and not as rigid as it was when it first goes out. Basically, the box loses its structural integrity. This is caused by moisture, getting jostled around, impacted, and crammed in cargo containers with other boxes, dropped, and sometimes even thrown around by the packaging service. This is not meant to be a slight on the hardworking people of UPS, USPS, or FEDEX but it is simply a fact that packages get some rough treatment during the transit phase. Ultimately it results in a cardboard box that has weakened and become much less rigid therefore providing inferior protection.
Factor in Replacement Cost
Sometimes the time and effort to replace a shipment are more than the cost to simply reship a package. In some cases when a print arrives damaged, it is not even worth the cost to go through the effort of filing a claim. It is cheaper for many companies to just replace the order and ship a new item. If you ship prints yourself, you will eventually notice a certain percentage of products will become damaged no matter how well you package them. It may take a while but if you can factor in an average cost for those replacements, consider padding what you charge or shipping to help cover this cost. It can go a long way in improving customer relations when you can simplify and make the replacement process as painless and effort free as possible for the customer. For higher-cost items, you probably want to be more entailed with the replacement process. It is one thing to replace a $20 print but can be quite costly when replacing a $200 order.
Additional Solutions
Take your package to the nearest UPS or FEDEX store. Let their staff handle all the packaging. They will create the perfect package size to make sure if the item is damaged, it is covered by shipping insurance. This way you are not out any money if the item arrives damaged. You will need to order a replacement of course but that is better than eating the cost of a $100 plus framed print. It may seem that you will pay more since you are paying for the packaging as well as retail shipping prices but weigh that with what it costs you if you do it yourself.
Use our drop shipping service. Again, let someone else carry the burden of the cost. Obviously, if the shipment is damaged, we will provide a hassle-free replacement option. We may require some sort of photo evidence of the damage which we will in turn need to submit to UPS but you won’t have to go through any claim process with the shipping carrier. In most cases, the cost of shipping will be less since our rates tend to be lower than retail shipping rates. Plus there is no material cost in packaging supplies.
Your biggest issue if you ship prints yourself is going to be the overall cost. Look at buying in bulk. As you grow and increase the order volume that you ship, you will want to talk to your shipping carrier representative. Many times they will negotiate with you for better pricing as your volume increases.
Create your shipping labels through a service like EasyPost or GoShippo. Not only will your USPS rates be commercialized and lower, but they may also allow you to sign up for special commercial rate UPS or FEDEX accounts which lower your cost. Contact them to see if this is available. Also, both services integrate well with the most popular e-commerce platforms which can speed up the label-creation process.
All the above are just meant to be tips and advice, especially for those just getting started with shipping their artwork and photos as more dimensional items such as mounted prints, canvas prints, and of course framed prints. I hope it provides not only some valuable information but will help you in running a successful online print sale business. Feel free to share in the comments section below some ideas that have worked for you when shipping packages yourself that will protect your prints and keep your cost down.
Thanks so much for these tips! They are very helpful.