
I recently discussed torn or deckled-edged prints. But people also ask how we cut and manage so many giclee prints. When we give them a behind-the-scenes look at our facility they are quite amazed at the organization and sorting of so many prints when we may have to produce so many prints each day on over 20 different giclee papers.
It took years to hire the right people to best manage this and to put in processes since there is no book to tell us how to do it.

For those of you that may not be aware, our printing of giclee and canvas prints is done on rolls of media that are fed through very large printers. This means in order to waste the least amount of space on the rolls, a photo or artwork within an order could be nested or ganged up with dozens of other prints.
Years ago when we started and were just a 3-person operation with one wide format printer, I would create a blank document in Photoshop, manually add any images I had to print, and arrange them on the document. Since images would be of varying sizes and widths, it would look like a game of Tetris, with smaller images filling in the gaps left by larger images. I would then print this document through Photoshop.
Back then we only processed a couple of dozen orders a day at most but it still could mean up to a hundred prints that would need to be managed this way which was both very tedious and time-consuming. And then after the printing, each print had to be carefully cut out which could take half the day.
Fast forward 15 years later and thankfully we do not have to do it this way anymore. Now we use very advanced printing software called a RIP which automatically does all of the groupings of the images and printing, sending jobs to a fleet of printers. And while we still mix in some manual cutting done by a team of trained staff, the bulk of the cuts are now able to utilize computerized cutting systems which know precisely where to cut the images on a sheet that comes off the roll. Basically, a camera built into the cutter will locate the registration marks for precision and then cuts along a cut path that was automatically generated that corresponds to the print. I made this quick video to show how cutting out prints from a sheet off one of our wide format printers is done to give you an idea of this amazing technology.
It’s an incredible process to watch and it means very exact cuts to the size ordered. Typically we will do dozens of prints at a time but there may be times such as with canvas that we will load a full roll of canvas that has been printed and the system will cut out all the canvas prints.
What if I need to cut them down myself?
But even with what we do, there may be a time when you find you may need to do some additional trimming of the print on your own. This can happen if you ordered a bordered print on fine art paper and want to place it in a frameset to the same print size. For instance, an 8×10 with a one-inch border would have a sheet measurement of 10×12 inches. So if you needed to fit it in an 8×10″ frame, you would need to cut away the border.
I know some will simply use scissors. It probably is not a problem in the above scenarios if the edges are slightly unstraight since the frame lip would cover the edges where you cut, but you may want another method.
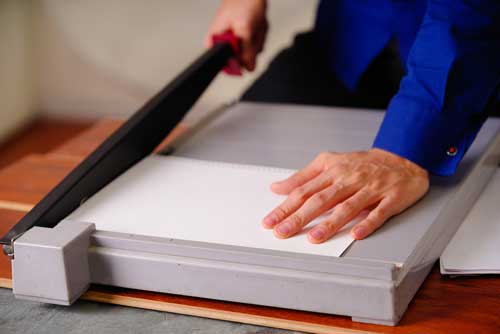
Some will use a guillotine paper cutter. Personally, I am not a big fan of these since papers like to shift which can lead to the print being a little skewed on one side. But they are typically able to cut through the heavier-weight paper to card stock.
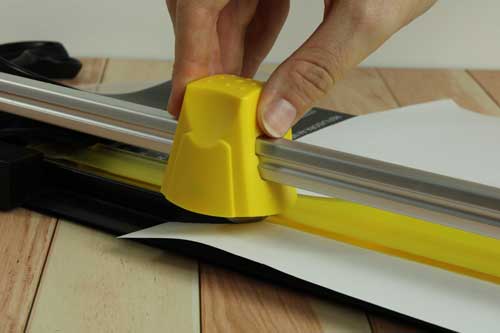
Rotary cutters are probably the easiest method. We have a bunch of these that we still use even though we have shifted most to automated cutters. My favorite brand is Dahle. They are cheaper options out there but I did not feel they were up to the job at the level we needed. Even some of the more expensive ones I tried, I did not think were as good.
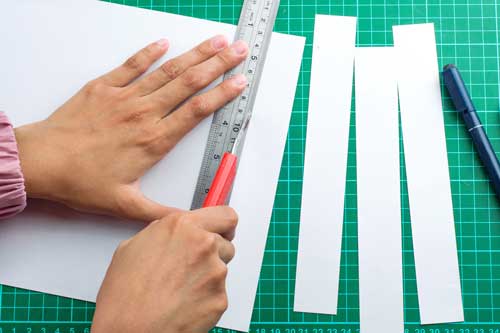
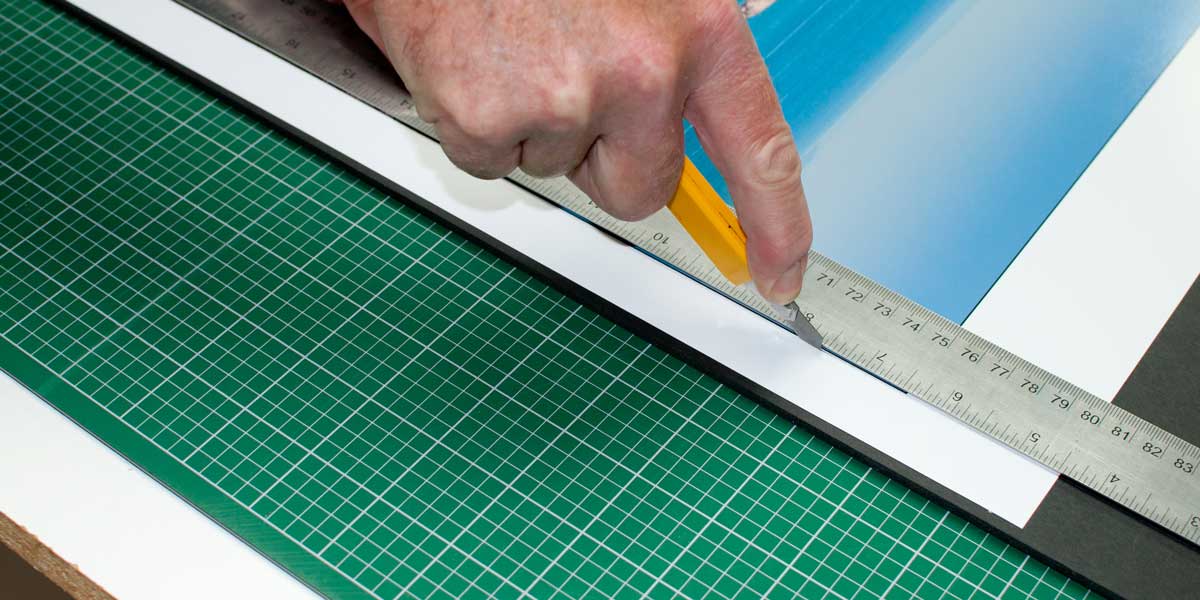
Finally, if you are not planning on cutting your own prints that often, the solution I recommend is simply a straight-edge ruler and a very sharp box cutter. Ifs a little more time-consuming than the other, and you may need to get yourself a self-healing mat or use smooth posterboard (do not use corrugation), but it is relatively inexpensive. We actually used to use this method at times for larger prints that were too large for the rotary cutters. Now of course they are cut digitally.