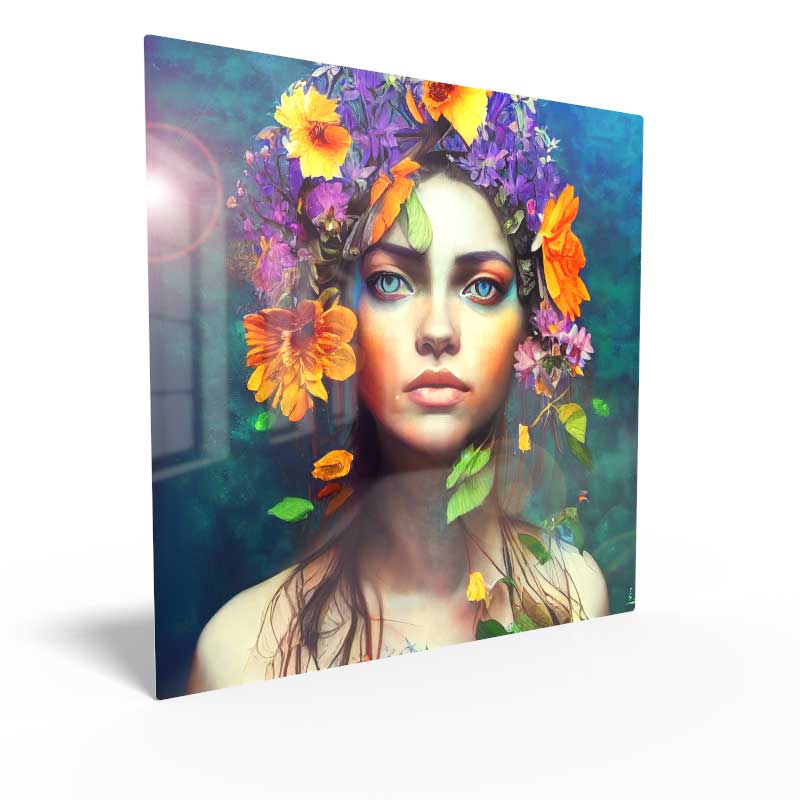
One of the neat features with printing on acrylic directly with the technology at FinerWorks is there is a way to actually print in “decal mode”. Decal mode allows you to control what parts of the image are fully transparent and what is full color.
In most instances, when printing is done, the color white is not an ink color applied by a printer. White is determined by the surface of the paper or other substrate you are printing on and very importantly, determines the brightness and contrast of colors. But with the type of flatbed UV printing FinerWorks uses, actual “white” ink is widely used. When printing on a transparent surface like acrylic glass, the white ink is applied in a separate pass so your image will not have a washed-out, semi-transparent look.
However, there may be instances where you want to limit where the “white” ink is applied. Take for instance the 8×10 music plaque on acrylic glass example. White ink is only applied in isolated places where you want. To achieve this look, you must have access to an image editing program like Photoshop which allows you to work in layers.

Use 2 Layers


Saving the File
Save the file as a TIFF but make sure your software is preserving the layers and not flattening the image. This way our processing software can extract the white layer and use it to mask out the part of the image you want.

We also have a video which illustrates this process:
Order HD Chromaluxe® Metal Prints
Print your artwork or photography as custom-size metal prints. Using the dye-sublimation process, your image is fused to the surface of rigid aluminum panels. These provide a modern look when decorating your home or office. Choose from multiple metal surface options. Order it framed, with a float wall mounting or even with a tabletop easel back.
