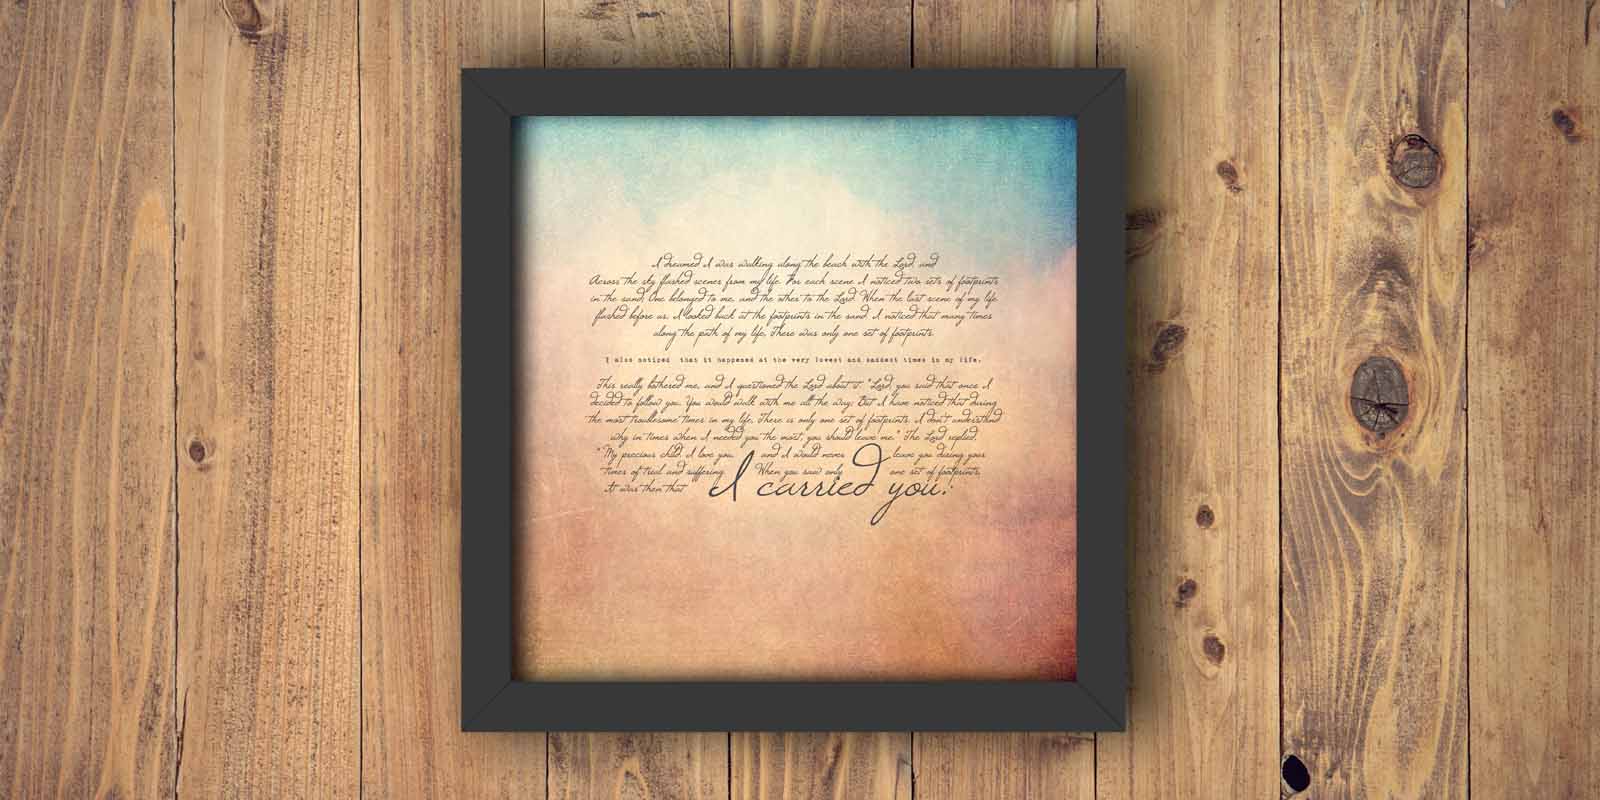
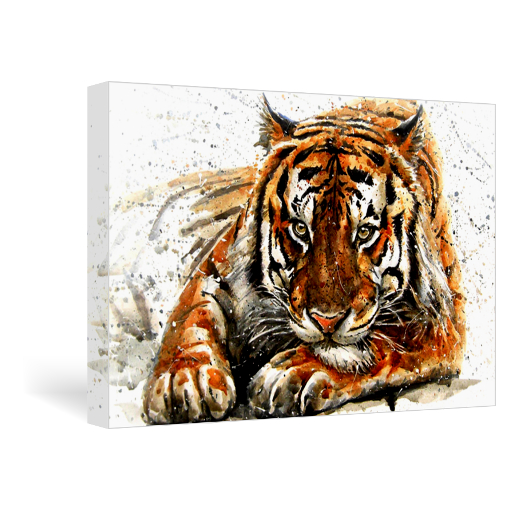
Mock-ups. We all need them. There’s no better way to create product shots of your prints in my humble opinion.
Before I go any further, let me stress that the following is intended for those who are proficient in using Photoshop and are NOT photographers adept at table-top photography (that’s a LOT of us). Also, don’t judge me for being stuck in 2010. I like CS5 🙂 .
Okay, so as I was saying, mock-ups are great and we all know why. I’m talking overhead. Seriously, who wants to spend thousands of dollars on framed prints alone just to photograph them. That whole scenario is exhausting. In many cases, who’s to say they will even sell, right?
What if I told you that you could create a well -composed and professional looking mock-up for your Finerworks-framed print in under 5 minutes…for free? That’s right. And to sweeten the deal, I’m going to provide you with a high resolution psd file (warning, ahead of time on the file size) containing over 15 different backgrounds for your framed prints. So even if you already know how to create your own great mock-ups, you might still want to take advantage of this freebie just for the backgrounds.
But if you don’t already make your own mock-ups, and you’re ready to take the bull by its horns, keep reading.
If the Frame Fits
You probably know that you can find a wide range of free mock-ups online. But when it comes to custom framed prints like the ones that we offer here at FinerWorks, the shoe doesn’t always fit. Paying for someone to create them for you, or, if you are more “hands-on”, purchasing reusable mock-up templates are two go-to options. If you have the funds, then hey, why not? But there’s that lingering issue of possible misrepresentation, and that’s where The DIY Frame Mock-up in Less than 5 Minutes comes in. But stay with me just a little longer. There’s one more thing to take into consideration.
Fact: Most framed print mock-ups inaccurately portray molding width and scale.
So let’s say you have access to free framed print mock-ups that are dead-wringers for our frames at FinerWorks? The Black Gallery Economy Frame, for example, is pretty basic. You’d be hard-pressed not to find one of those online somewhere. But one of the trickier aspects of creating accurate framed print mockups is maintaining an accurate scale of your frame-width. For example, a 10×10 inch print framed with a 1″ molding looks a lot different than the 20×20 inch print that is framed in the same 1″ molding. Even if your size jump isn’t as drastic as 10 inches, you still risk painting a prettier picture than you’ll be able to deliver.
If you’re still with me, then that means you want a solution. Whether it be a lower overhead, quicker workflow, better or more accurate renderings of framed prints… whatever the reason, I promise I’ll make this worth your while.
Without further adieu, I give you…
The DIY Framed Print Mock-up in Less than 5 Minutes
You will need the following to create your mock-up
- Photoshop (any version)
- Your print-ready image file
- A PNG of the FinerWorks frame of your choice (saved directly from FinerWorks.com’s print builder)
- PSD file “Wall Background” (click to download this file)
Bear in mind that this process will work for any frame that we offer at FinerWorks. For those of you who need a visual, I’ve put together a video tutorial featuring the Gallery Economy Standard frame in Black.
*For optimal workflow, avoid iPads for projects like this. recommended devices include desktops, Macs, tablets, laptops, and Macbooks.
**This is mainly for those printing on heavily textured papers or canvas. See a tutorial on how to add texture to your images here.
The DIY Frame Mock-up in Less than 5 Minutes
- Go to FinerWorks.com and click “Start Order”
- Upload your print’s image file and click “Create Print” (below the image thumbnail)
- Select “Fine Art Papers” and click “Next”
- Select any paper type, and “Border-less” as your style*
- Select the print size
- Select your frame molding
- Remove mat (if mat is not needed) by adjusting the frame size to match the print size
- Right click your preview and “Save As” and name your PNG file appropriately – i.e. 10x10GalleryEconomyFrameBlack – and save the image file to a dedicated location **
- Open the wallbackground.psd file in Photoshop
- Turn on the Rulers and set Guides to fit frame size (not your print size)
- Go to File>Place, select your framed print PNG file, and click Place
- Size your new frame layer using the Guides as a reference
- Hit Enter (Mac users, hit Return) to make this a new layer
- Go to File>Place, select your the artwork or image you are using for your mock-up, and click Place
- Adjust the size and placement of your artwork layer as needed to fit inside the frame molding
- Hit Enter (Mac users, hit Return) to make this a new layer
- Apply an inner shadow effect by double clicking your artwork layer, or by going to Layer>Layer Style>Inner Shadow and adjust as needed
- Select the frame layer and apply a drop shadow by double clicking your frame layer, or by going to Layer>Layer Style>Drop Shadow and adjust as needed
- With your artwork layer selected, create a new layer by going to Layer>New>Layer or using Shift-Cntrl-N/Shift-Command-N
- With your new layer selected, hit B to select the Brush tool and choose the soft round brush size – set size anywhere from 5-15 pixels
- Select a color (slightly darker than your frame color) and paint corner seams for your frames reducing layer opacity if needed
- Right Click on your frame layer and select Rasterize
- Go to Image>Adjustments>Levels, or use Ctrl or Command L to bring up your levels window and use the sliders to adjust output levels if your frame is too bright or too dark
- Select your seam layer again, and adjust your layer opacity if needed
- Ctrl or Command-click on each layer – seams, frame, and artwork – to select them and right click to Group your layers (name the group accordingly)
- Choose one of the wall backgrounds for your product shot
- Go to File>Save As, to title your new mock-up, then save it as a psd file (this way you can use it over and over again), then save to the file format of your choice
* I recommend selecting the same paper you will be using for the actual framed print. You can check your cost here and also determine what your markup might be.
** If you have multiple frame styles/sizes, I recommend repeating steps 1-13 as needed. Then save as a new psd file.
Rinse and Repeat
And that’s all there is to it. If you saved your mock-up template, you can quickly and easily create gorgeous mock-ups for your each of your framed print products.
Ideally, you should be able to use the same mock-up template for as many of your framed prints as possible and switch out the artwork as needed. It will help you keep your mock-ups organized, and in the long run, save time (you won’t be spending anywhere as much time coming up with your product shots), but it will also save you a ton of space on your device.
Want to take it a step further?
If you aren’t already incorporating paper textured into your mock-ups, that might be something else to consider. Textured paper in product shots really makes a print stand above the rest (provided it’s done correctly). Check out next week where we will be discussing more on adding paper textures!
Order Giclee Printing on Canvas
Printed using some of the highest archival standards in the industry, your photos or artwork will last for decades to come.


Thanks for this! I downloaded the Wall Background file, but the link to download the paper textures doesn’t seem to be working, and I can’t find it elsewhere on your site. Please help!
Stephanie
Hi Stephanie,
Sorry about that. That was an error on our part. That article was not ready as we planned so it had to be rescheduled to be published for next weeks newsletter. :/
Yay! This is gonna save so much time. Thanks!