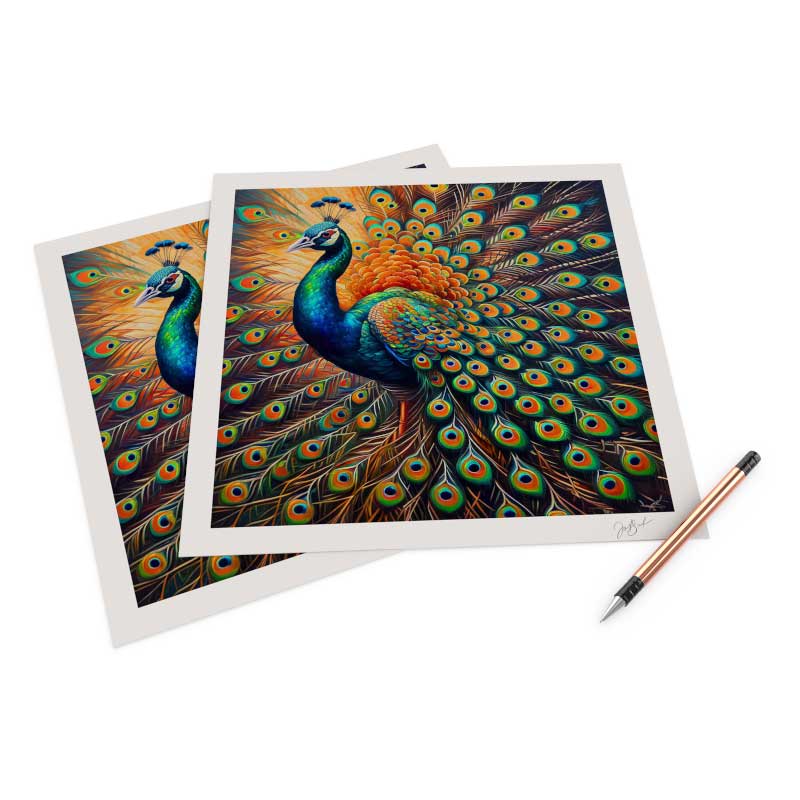
The following tutorial is intended for those proficient in using Photoshop. Today I’ll be providing paper texture image files for you as well as a quick tutorial on how to use them (in case you need a little help along the way).
Do you sell fine art prints on one of our textured papers or canvas? If so, this Freebie might be right up your alley.
Good product shots are imperative to selling art-prints online. But there is a LOT of competition out there for the likes of us. If you do a bit of browsing on Etsy or Amazon Handmade, its plain to see that for art-print sellers, professional looking mock-ups are easy to come by, paid for or not. So if we are serious about selling, we don’t have the option of providing sub-par product imagery. Instead, we gotta step it up.
And this week, I’ve got 3 paper textures for those of you who create your own product mock-ups. Each is in jpg format and they’re yours to keep:
Premium Giclee Texture, William Turner Texture, Canvas Paper Texture
If textured paper is one of your selling points, and you aren’t already using this to your advantage in your product mock-ups, you may be doing yourself more harm than good.
For example, so-called Professional Kodak prints are a far cry from FinerWorks’ Premium Giclee paper prints quality-wise. And cost-wise, if we are talking about 8×10’s, we pay $9 to produce an exquisite, museum quality print as opposed to $2 for a Costco-grade “professional lab print”. Clearly, it’s going to be difficult for some of us to compete with Artie’s Artshop’s $4 art-prints, if our product images don’t stand out from his.
How to Add Paper Texture to Image Files
Important! This tutorial is intended for the purpose of simulating paper texture only and will not accurately simulate the scale of the texture on any given print size. The downloadable files are not pattern files and will not scale in accordance with your image dimensions. Use with discretion if you are concerned about misrepresenting your prints.
- Download your paper texture (Find your paper textures here: Premium Giclee Texture, William Turner Texture, Canvas Paper Texture)
- In Photoshop, open the image file to which you will be adding texture
- Adjust the image size to no more than 3000×3000 pixels
- Go to File>Place, browse for your texture file JPG, and click Place
- Adjust the size and placement of your new layer to fully cover your artwork if needed
- Hit Enter (Mac users, hit Return)
- Set the textured paper layer’s Blending mode to Multiply using the drop-down options located at the top of your layer’s tab, or, by going to Layer>Layer Style>Blending Options and changing the layer Blend mode from Normal to Multiply
- Adjust layer opacity as needed. For more obvious texture, try duplicating the texture layer by hitting Ctrl-J or Command-J for Mac users
- Save your new file
Don’t forget to checkout the The DIY Framed Print Mock-up in Less than 5 Minutes Tutorial to try out your new file!
Giclee Printing at FinerWorks
One of the largest ranges of paper selections, while using the highest level of archival print technology allowing superior detail and color, you can create custom giclee prints of your artwork and photos.

One Reply to “Make Your Print Mock-ups Stand Out with Paper Texture”